


Introduction:
If you're anything like me, when you first started learning to code, you probably found the process of styling and designing your websites and applications to be one of the most enjoyable aspects of learning how to code. However, as you progressed, you might have realized that styling can quickly become overwhelming, with naming conventions, priorities, and an avalanche of options to consider.
React Semantic UI
Thankfully, in the world of coding, there's often an easier way to accomplish tasks. Semantic UI is one such solution that allows you to create beautifully styled applications and pages with ease. In this post, we will explore what Semantic UI is, how to install and use it, and demonstrate its usefulness and power through an example.
What exactly is Semantic UI?
Semantic UI is a React library designed to simplify and streamline the process of designing user interfaces and various UI elements. It leverages React's capabilities, enabling users to create uniform UI components while providing a high degree of customization. Importing Semantic UI components is similar to importing React hooks like useState, useEffect, and useContext.
Getting Started With Semantic UI
Installing Semantic UI
Now that you have a better understanding of Semantic UI, let's dive into implementing it in your code.
To use Semantic UI within your Create React App, I recommend installing it using your package managers, such as yarn or npm:
yarn add semantic-ui-react semantic-ui-css
or
npm install semantic-ui-react semantic-ui-css
Once installed, import the CSS file into your index.js file:
import 'semantic-ui-css/semantic.min.css';
Alternatively, if you prefer not to use a package manager, detailed instructions can be found on the Semantic UI website here.
Choosing and Using A Semantic UI Element:
The Semantic UI website provides a comprehensive list of UI elements available in their library. Once you've added Semantic UI to your project, you can import the desired element, similar to importing React hooks:
Let's say we want to add a button to a React project using Semantic UI:
import { Button } from 'semantic-ui-react';
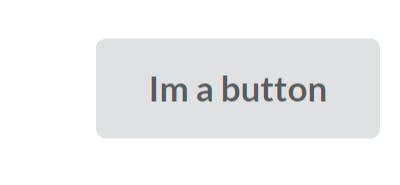
Now that you have access to Semantic UI's button component, you can utilize it just like any other component:
<Button> I'm a Button </Button>
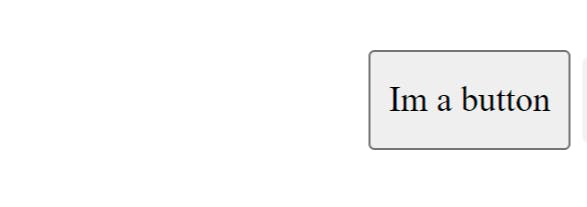
This approach at first glance appears straightforward and similar to creating a button without Semantic UI both in terms of style and the creation of the element:
<button> I'm a Button </button>
You might be wondering what the benefit of using Semantic UI is at this point. Currently, we've only created a button, which is something we're all (hopefully) familiar with.
Where Semantic UI Starts To Shine
This is where Semantic UI truly shines. Let's consider an example where we want to turn our button into a red button with a trash icon and text saying "Remove." Additionally, we plan to add one of these buttons to each item in a rendered list.

Without Semantic UI, we would need to write JSX for the button, assign a className and other identifiers, carefully style each element in our CSS file, and write the accompanying JSX. This process can become complex, especially for more intricate components.
Semantic UI and ShortHand Props
What sets Semantic UI apart is the combination of DOM-Element components, such as Button, with the shorthand props provided by Semantic UI.
Each importable component comes with a list of props, which can be viewed on the Semantic UI website. Each prop is accompanied by a description to help users understand its purpose.
These props can accept strings, variables, and functions to achieve the desired effect.
The code snippet and image below, were taken from a recent project (you can find this project here)
that uses Semantic UI, you can see how I customized the buttons:
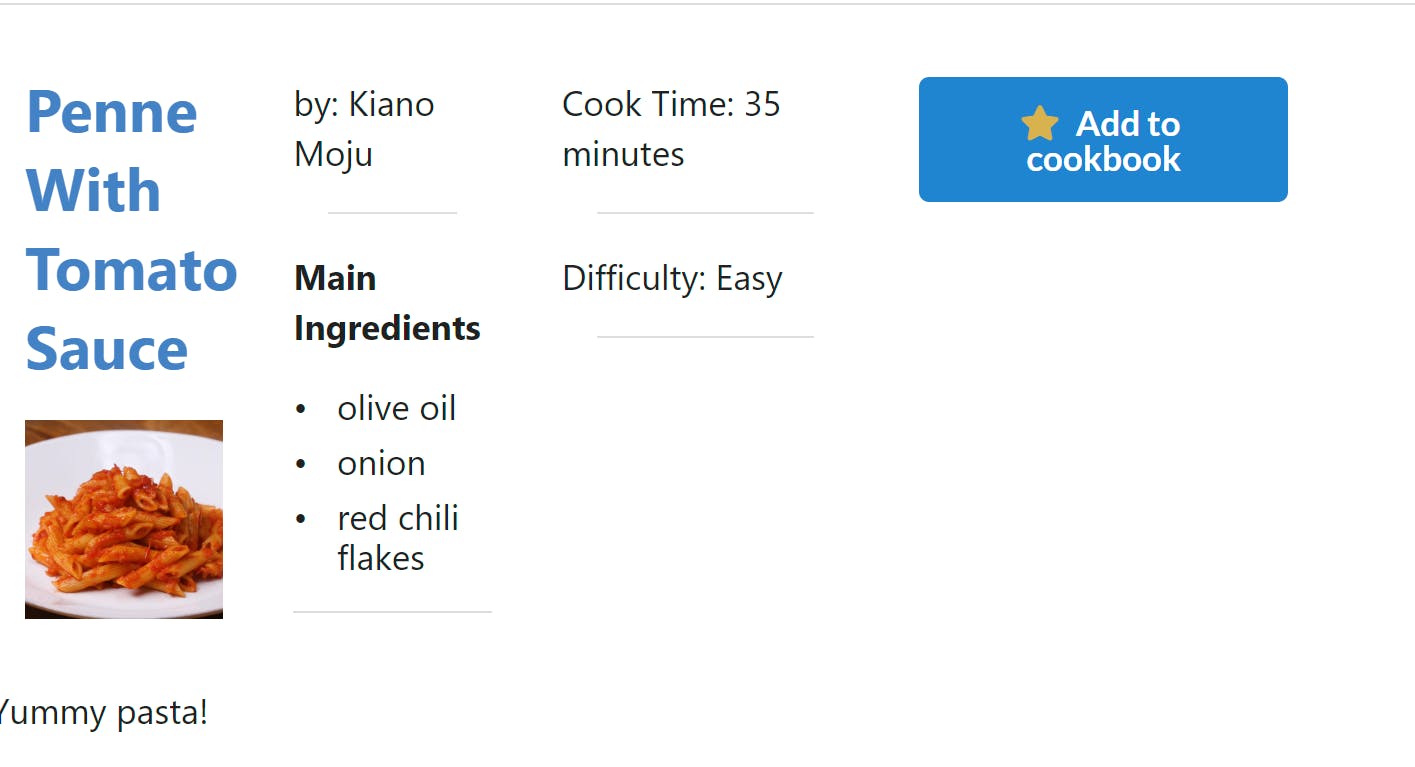
<Button
    onClick={handleAdd}
    icon={{name:'star',color:'yellow'}}
    content='Add to cookbook'
    color='blue'
/>
As you can see, I can easily change the star icon's color, as well as the button's color, with relative ease and simplicity.
Moreover, in the example provided above, everything from the list to the picture and the recipe name was created, styled, and formatted using Semantic UI. Just like regular components, you can nest, iterate through objects, and work with them to create beautiful UIs.
As demonstrated in this simple example, Semantic UI proves to be an extremely useful tool. When combined with the ability to create custom components or manipulate existing ones, Semantic UI becomes an invaluable asset for any developer!